Inspection Guides
How to Inspect a New CAT 301.7 CR Before Shipping
A buyer-focused pre-shipment inspection checklist for a new CAT 301.7 CR, covering identity, configuration, operation, attachments and export records.
Applicable scope
Pre-shipment review of a new CAT 301.7 CR offered for export. This checklist does not replace the Caterpillar operation and maintenance manual or an independent engineer where required.
Why Inspect a New Machine?
A new-machine order still needs verification. The objective is not to treat a new CAT 301.7 CR as used equipment; it is to confirm that the allocated machine matches the written order, has not suffered storage or handling damage, operates correctly for a basic pre-delivery check and is documented for shipment.
The inspection should be tied to the quotation or contract. Record the requested cab or canopy, stick, tracks, blade, hydraulic options, attachments, destination and document scope before the inspector begins.
1. Confirm Machine Identity
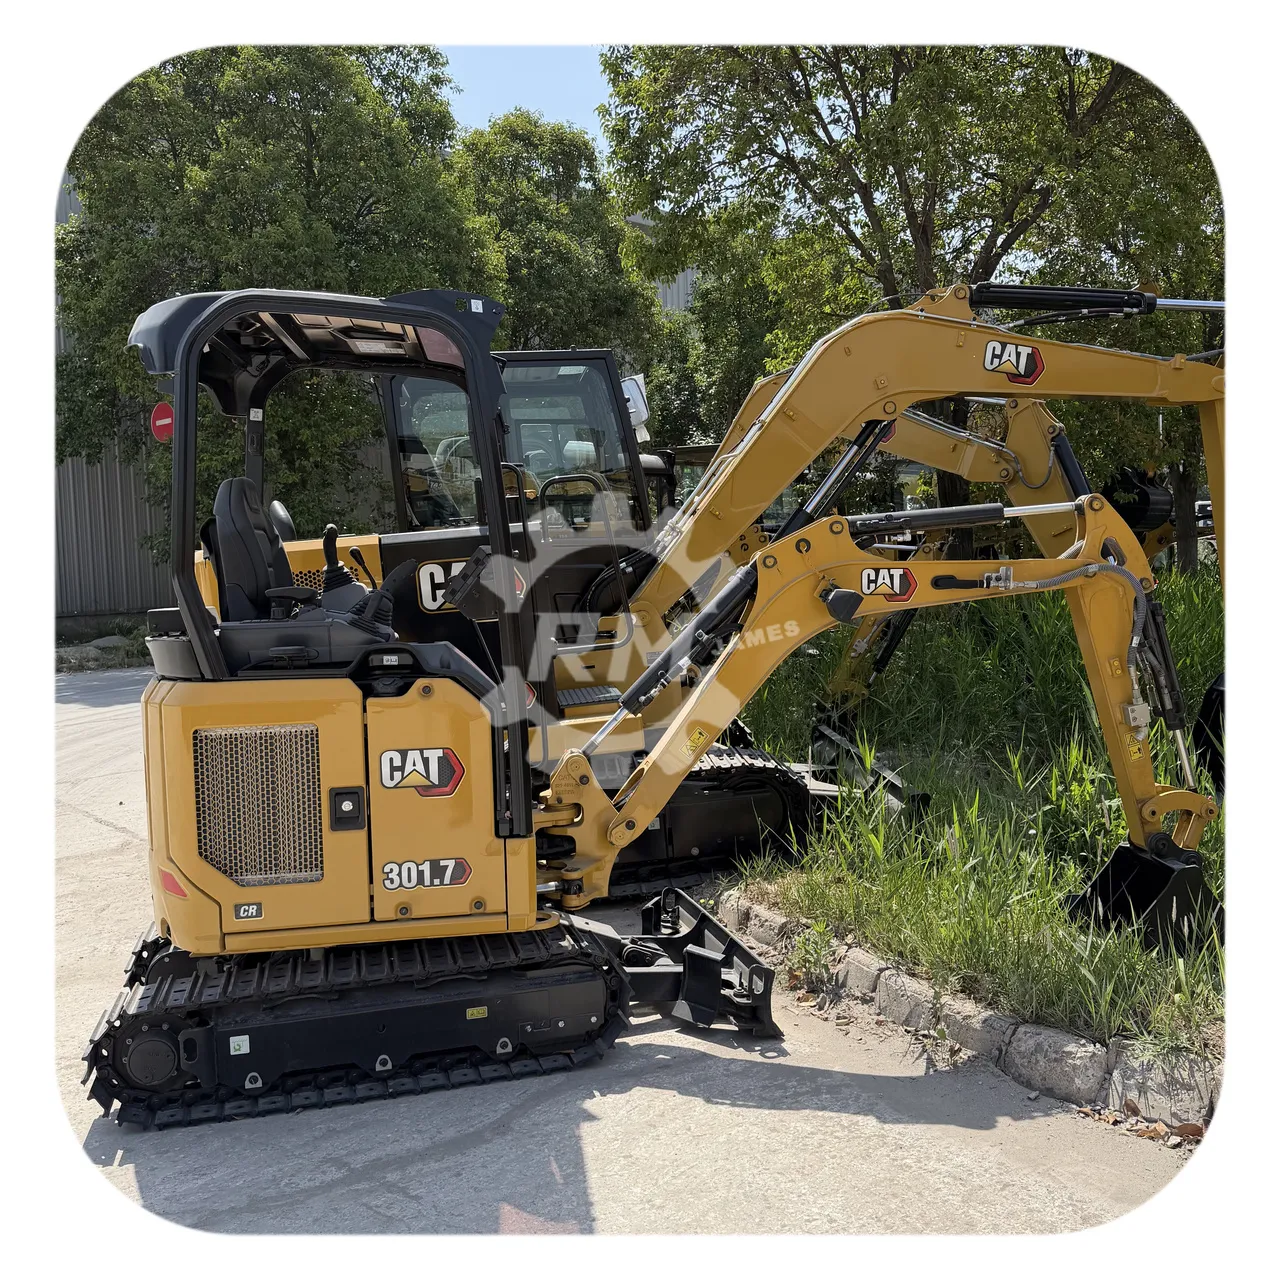
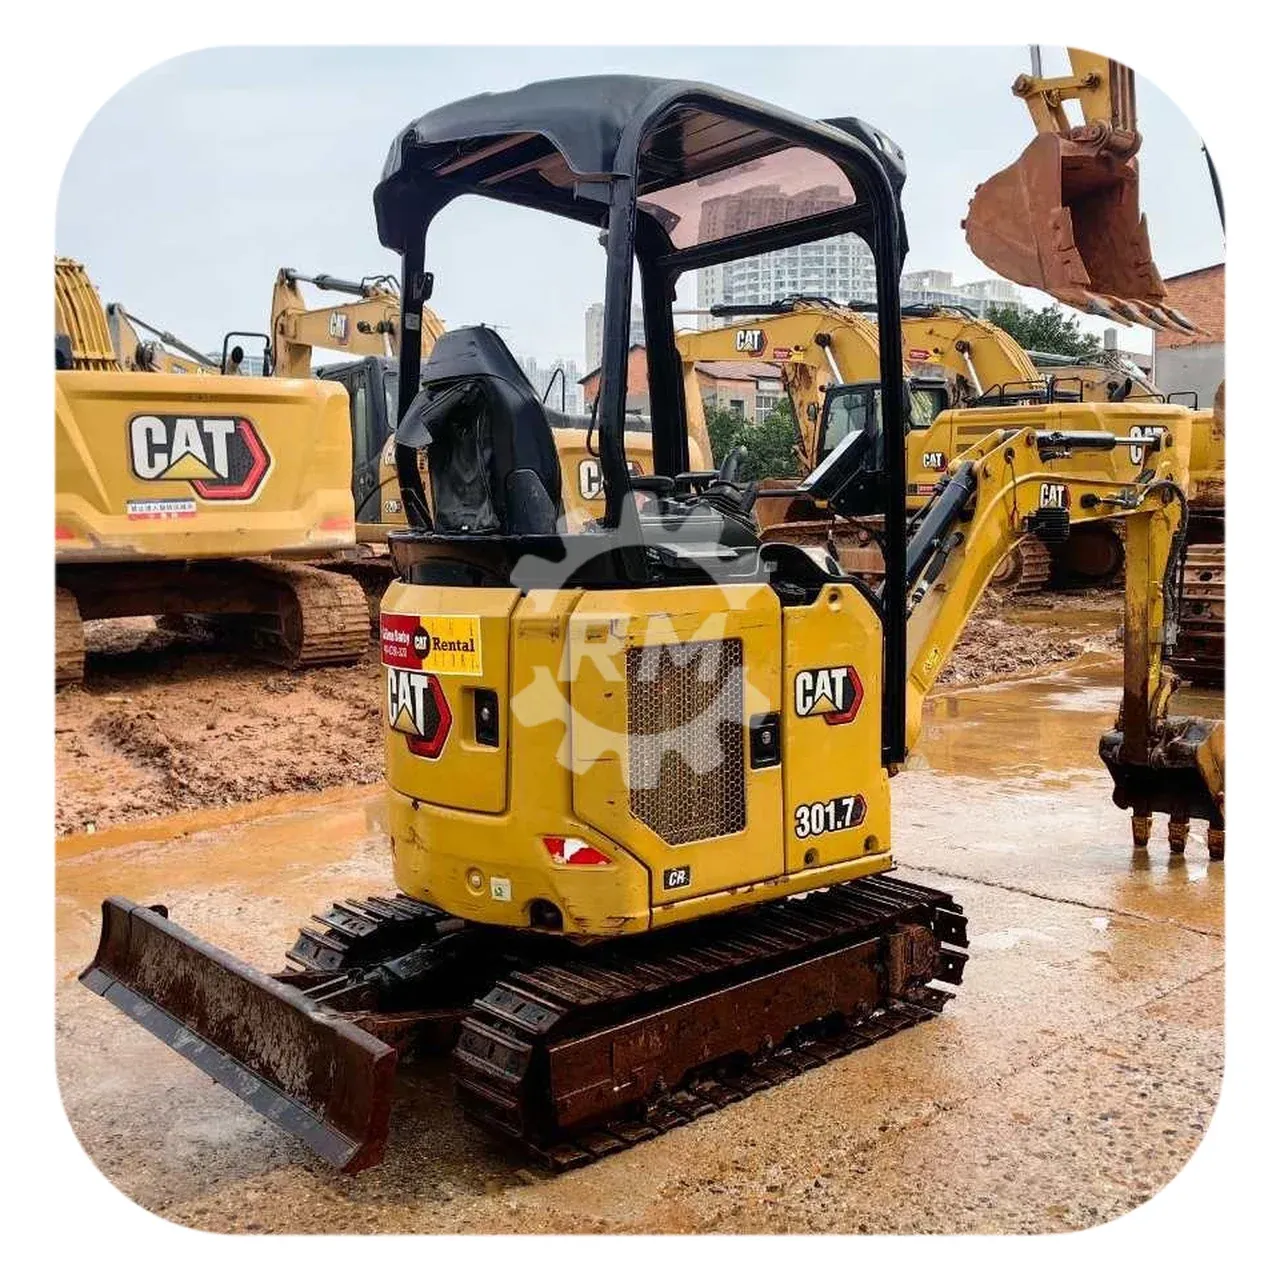
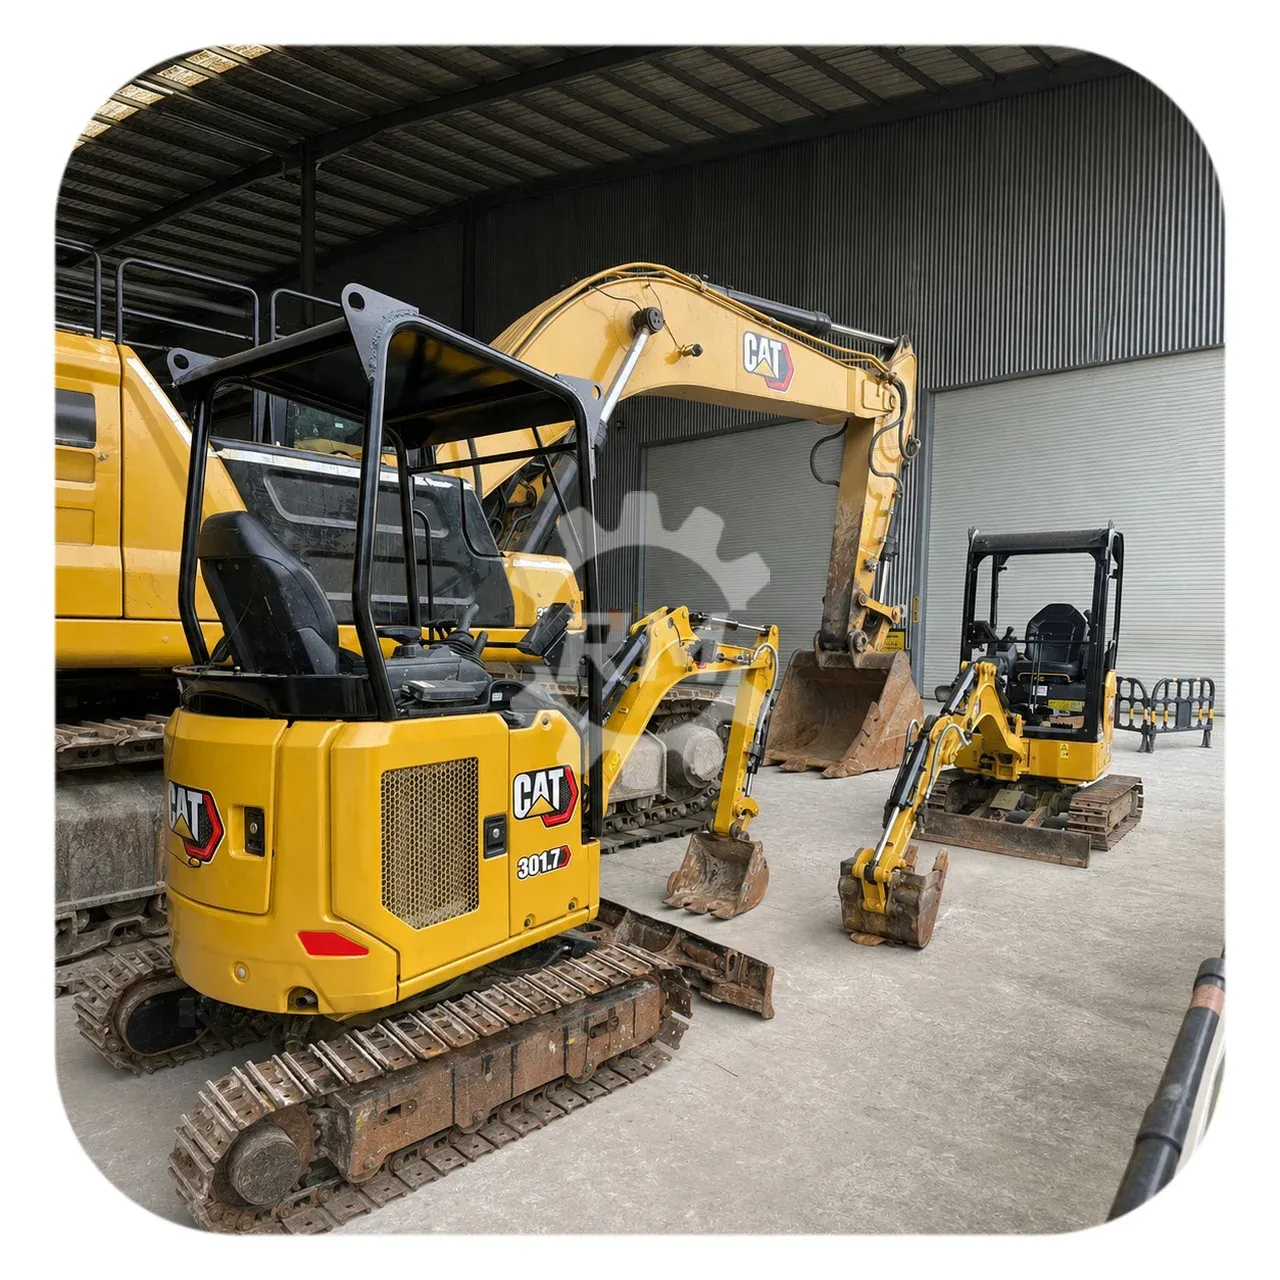
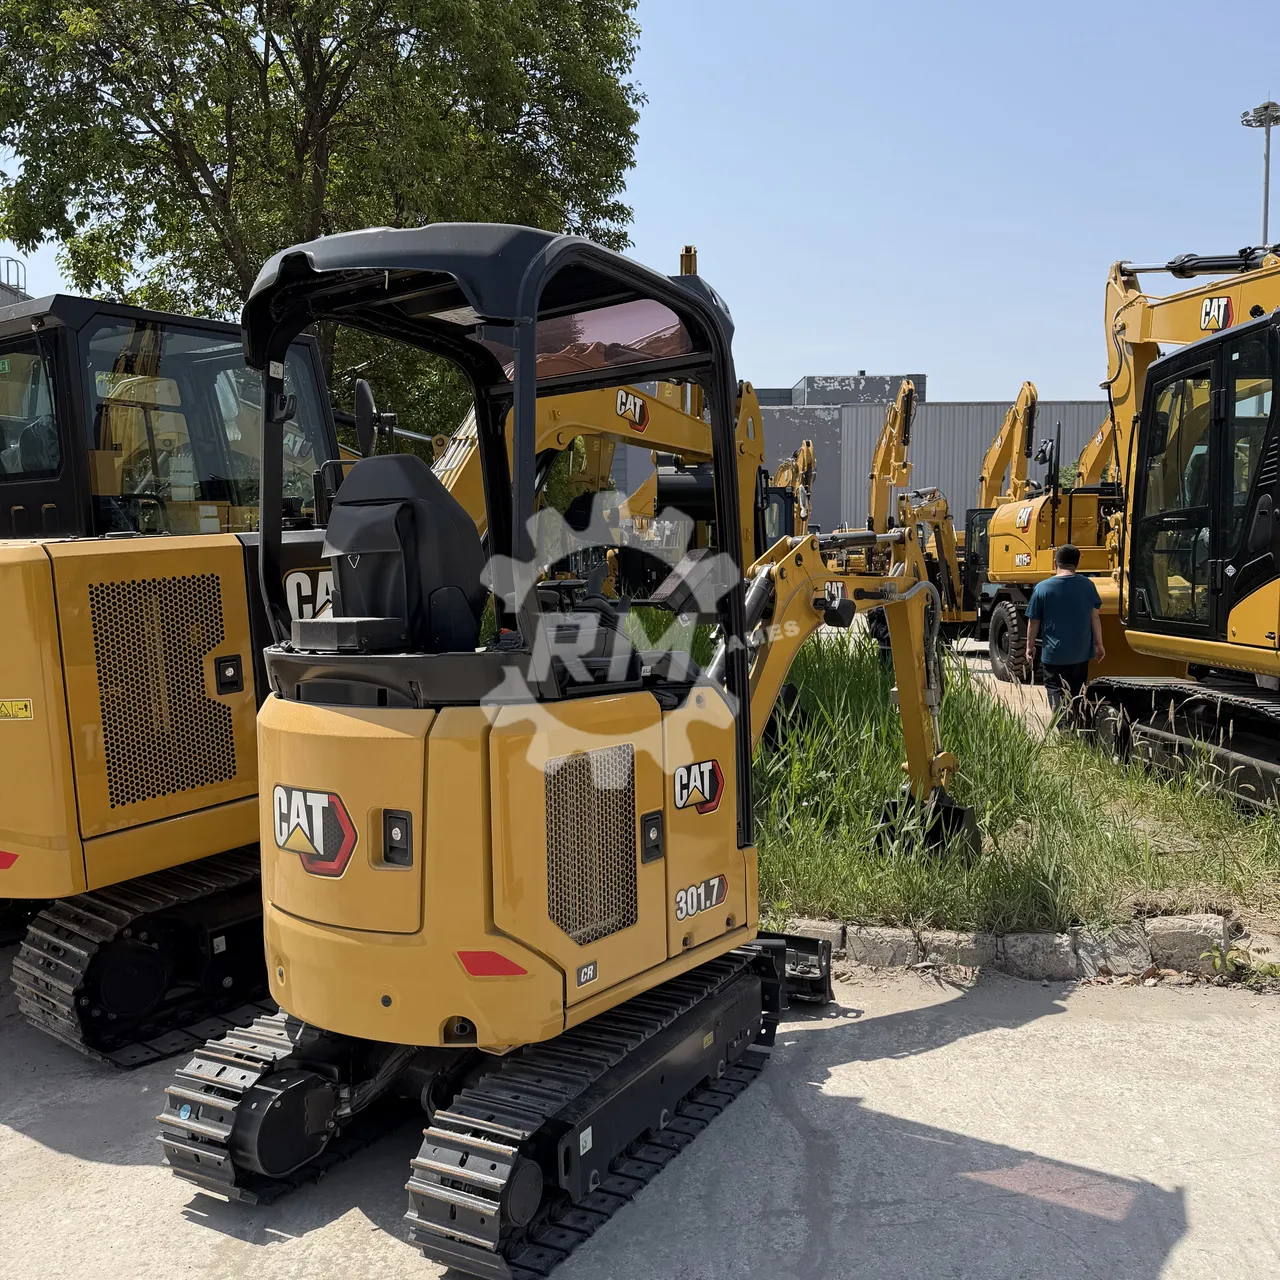
- Photograph the complete machine from all four sides before protective packing.
- Capture the machine PIN or serial-number plate clearly when a specific unit has been allocated.
- Photograph the engine nameplate and any emissions label required for the destination.
- Match the model, configuration and available serial information to the sales documents.
- Record the hour-meter reading without describing an unverified reading as zero hours.
Model-family specifications are not identity evidence. The plate and supplied records are used to identify the allocated unit.
2. Verify the Ordered Configuration
The Caterpillar reference for the 301.7 CR includes a Cat C1.1 engine and lists multiple possible configurations. Confirm whether the order specifies canopy or cab, standard or long stick, rubber or steel tracks, expandable undercarriage, blade arrangement, auxiliary hydraulic circuits, coupler and work tools.
Photograph the installed options and record any item supplied loose for shipping. If an attachment is shipped separately, identify it in the packing list and show its condition and connection points.
3. Check for Storage and Handling Damage
Inspect painted panels, counterweight, boom, stick, blade, cab or canopy, glazing, lights, handrails and steps. Look for impact marks, cracks, broken fittings, paint damage, missing fasteners, leaking fluids and contamination caused during storage or loading preparation.
The known-defect field should say that no visible damage was found only after the inspection. It should not be prefilled as “None” before the machine is checked. Photograph any exception and agree on correction or acceptance in writing.
4. Perform Basic Operational Checks
Follow the manufacturer procedures and use a safe test area. Record a cold-start video when practical, then observe warning indicators, abnormal noise, smoke and visible leakage. Test engine idle and response, travel in both directions, steering, swing, boom, stick, bucket, blade and auxiliary functions that are part of the order.
Cycle the equipment enough to identify obvious operating problems, but do not represent a short functional test as a full load or endurance test. Record the ambient conditions and any test limitation.
5. Inspect Hydraulics and Undercarriage
Check accessible hoses, tubes, cylinders, fittings and couplers for damage, loose connections or visible leakage. Inspect rubber or steel tracks, rollers, idlers, sprockets and the expandable undercarriage function where fitted. Confirm that the machine is in the correct configuration before measuring transport width.
For attachments, confirm the coupler interface, pin dimensions where relevant, hydraulic hose condition and the ordered auxiliary line arrangement. Compatibility must be verified rather than inferred from the attachment name.
6. Review Safety and Operator Items
Check the seat, seat belt, controls, monitor, horn, lights, mirrors where installed, travel alarm where specified, control lockout and labels. Confirm that the supplied cab or canopy and guards match the order. Safety structures and optional equipment vary by configuration and region, so record what is physically present.
7. Build the Buyer Photo and Video Set
Provide an organized set rather than a few general photos:
- Four exterior corners and both full sides.
- PIN or serial plate, engine plate and hour meter.
- Engine compartment, hydraulic area and visible fluid points.
- Cab or operator station, monitor and controls.
- Tracks, rollers, sprockets, idlers and blade.
- Boom, stick, cylinders, coupler, bucket and attachments.
- Function video and a final loading or securing record.
Use descriptive filenames or captions so the buyer can match every image to the inspection checklist.
8. Confirm Documents and Shipping Condition
Before dispatch, review the commercial invoice or proforma invoice, packing list, contract configuration, machine identity records, available certificate set and destination-specific requirements. Confirm the cleaning condition, packing of loose parts, lifting method, lashing plan and shipping measurements.
The final report should separate verified facts, exceptions, items pending correction and items that could not be tested. It should identify the date, location and allocated machine. A buyer may also appoint an independent third-party inspector when required.
Final Acceptance Checklist
Approve shipment only after the order configuration, visible condition, basic functions, included attachments, document list and loading plan have been reconciled. Any difference should be corrected or accepted in writing before release. Global Machine Trader can provide an inspection record and one-year remote technical support when that scope is included in the contract; it should not be described as a worldwide Caterpillar factory warranty.
Sources and references
Verify before purchase
Request evidence for the exact machine
Send the model, destination and inspection items you need. We will confirm availability before quotation.
Ask an inspection question